Getting started with an empty MVVM application using WPF
This getting started guide explains how to create your first WPF project using Catel. It is a combination of using the project and item templates together with some custom logic. It assumes that you have installed both the Setup package as well as NuGet.
Creating the project
Start with an empty Visual Studio shell. Then, choose File -> New -> project... and choose the WPF project template (located under Windows -> Catel)
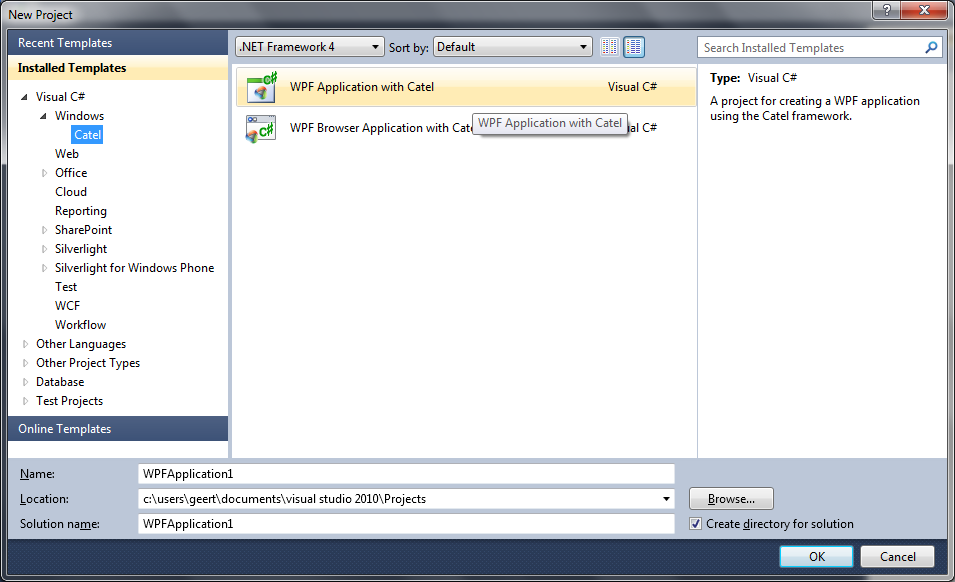
Most of the application is already created for you. Up to the next step!
Adding the references
Adding references to Catel has never been so easy using NuGet. No worries about the latest version, just add them and you're done! Right click on the project, then choose Manage NuGet packages.
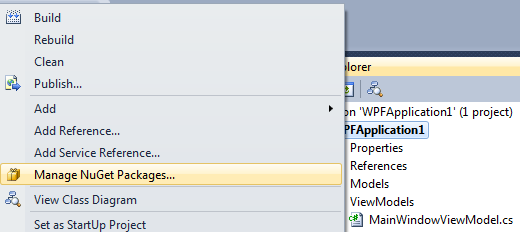
Then, search for Catel (make sure to select the online gallery) and choose Catel.Extensions.Controls (which will automatically install Catel.Core and Catel.MVVM):

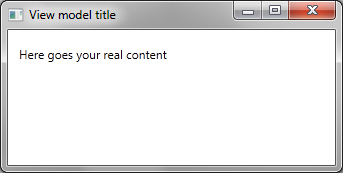
Running the project
The templates has created a main window. Now the only thing to do is implement actual logic (we can't generate that for you)!