Updating to a new version via NuGet
NuGet makes the life very easy for developers. You can simply add new dependencies to projects via the package manager. However, there are some pitfalls one has to be aware of. If you are using NuGet to install Catel packages, please use this guide to update Catel to a new version.
The pitfall
Catel ships with many different extensions. This means that each extensions ships in its own NuGet package. This might cause NuGet packages to be installed with different versions throughout the solution. Assume the solution below:
- MyProject.DAL => contains Catel.Core (3.5)
- MyProject => contains Catel.Core (3.5), Catel.MVVM (3.5)
When you go to the NuGet package manager, you will notice that updates are available. When you just click update on Catel.MVVM, you will end up with a version mismatch, which is shown below:
- MyProject.DAL => contains Catel.Core (3.5)
- MyProject => contains Catel.Core (3.6), Catel.MVVM (3.6)
This is because NuGet will install Catel.MVVM (3.6) which has a dependency on Catel.Core (3.6). Because it notices this dependency, it will automatically update Catel.Core, but only for the MyProject project, not for all projects. Now there is a mismatch and you won't be able to update the MyProject.DAL anymore via the NuGet package manager because it already notices that you already installed Catel.Core 3.6 somewhere else.
How to update without causing problems
To prevent the pitfall described above, below are some simple steps. If you follow these steps, you will never have any issues with version dependencies that go wrong.
1. Right-click on the solution => manage NuGet packages
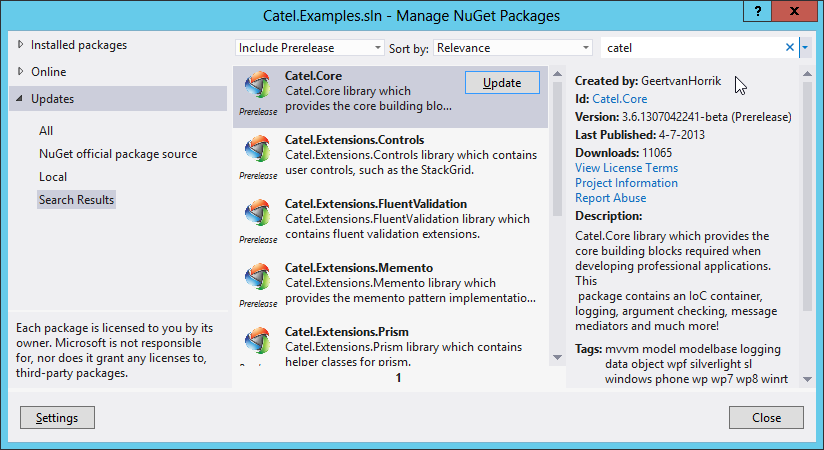
2. Go to Updates and search for Catel as you can see in the image below:
3. Make sure to Update in the following order:
- Catel.Core
- Catel.MVVM (if used)
- Any other extensions can now be updated without any issues